Project Setup
For this tutorial you will work with a small Python application based on the Flask web framework. The following sections provide instructions to help you set up and run this application on your computer. To complete this section you will need to work on the terminal or command prompt window of your operating system.
Download the Starter Application
Download the starter search application by clicking on the link below.
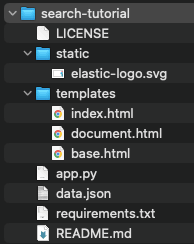
Find a suitable parent directory for your project, such as your Documents directory, and extract the contents of the zip file there. This should add a search-tutorial directory with several sub-directories and files inside.

Install the Python Dependencies
From your terminal, change to the search-tutorial directory created in the previous section.
cd search-tutorialFollowing Python best practices, you are now going to create a virtual environment, a private Python environment dedicated to this project. Do this with the following command:
python3 -m venv .venvThis command creates a Python virtual environment in a .venv (dot-venv) directory. You can replace .venv in this command with any name that you like. Note that in some installations of Python, you may need to use python instead of python3 to invoke the Python interpreter.
The next step is to activate the virtual environment, which is a way to make this virtual environment the active Python environment for the terminal session you are in. If you are working on a UNIX-based operating system such as Linux or macOS, activate the virtual environment as follows:
source .venv/bin/activateThe above activation command would also work if you are working inside a WSL environment on a Microsoft Windows computer. But if you are using the Windows command prompt or PowerShell, the activation command is different:
.venv\Scripts\activateWhen the virtual environment is activated, the command-line prompt changes to show the name of the environment:
(.venv) $ _NOTE: If you haven't used virtual environments before, you should keep in mind that the activation command is not permanent and only applies to the terminal session in which the command is entered. If you open a second terminal window, or maybe come back to continue working on this tutorial after turning off your computer the previous day, you have to repeat the activation command.
The last step to configure the Python environment is to install a few packages that are needed by the starter application. Make sure that the virtual environment was activated in the previous step, and then run the following command to install these dependencies:
pip install -r requirements.txtRun the Application
At this point you should be able to start the application with the following command:
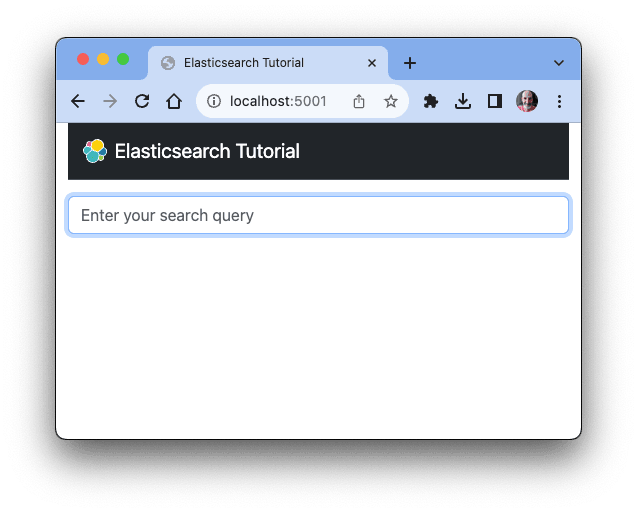
flask runTo confirm that the application is running, open your browser and navigate to http://localhost:5001.

NOTE: The application in this early stage is just an empty shell. You can type something in the search box and request a search if you like, but the response is always going to be that there are no results. In the following sections you will learn how to load some content in an Elasticsearch index and perform searches.
The Flask application is configured to run in development mode. When it detects that a source file has been changed, it will restart itself automatically to incorporate the changes. You can leave this terminal session with the application running while you continue with the tutorial, and as you make changes the application will restart to update.